Grilling Tips: How to Take Your Charcoal Grilling to the Next Level

So, you’ve read our charcoal grill tips for beginners and successfully managed a few meals without burning the house down. Are you ready for the next level?
If you’re looking to take things beyond beginner level, use these tips to up your grill game.
Oil the Grate
Preparing to remove your perfectly cooked food, mouth watering, taste buds dancing in anticipation, only to have the bottom half of your dish remain stuck to the grill is a MAJOR letdown. Avoid the disappointment with a little oil!
As the coals are starting to heat up, take a paper towel and wet it with a healthy amount of any high-heat oil — avocado, canola, grapeseed, etc. — then carefully spread it over the grate. This coating will help prevent food from sticking and decreases the chance of burning.
Experiment with Wood
If you’re longing for a richer, smokier or simply different flavor, add a few pieces of wood to the mix! There are a variety of woods to choose from, each with a unique effect.
From apple (a sweet profile perfect for pork) to hickory (a strong, robust flavor), there are endless options to enhance your dish. (Check out these tips for smoking with wood.)
Once you’ve found the perfect type, place your wood on top of the burning coals before grilling. But to steer clear of accidental fires, make sure the wood won’t burst into flames. One way to prevent this from happening is to soak the wood in water before use. However, some argue the water lessens the wood’s flavor. Another option is to use aluminum foil to make a little bowl for the wood to rest in on top of the coals.
No matter which option you choose, be sure to stay safe!
Lay the Ground (Coal) Work
How hard can it be to put charcoal in a grill?! Well, not very, but there is a technique to get the best heat distribution possible.
Instead of pouring the coal willy-nilly into the grill or creating a pyramid shape, do your best to disperse the coals in an even layer. Creating this uniform surface will ensure everything on the grill cooks at the same rate, so you won’t have one lone chicken breast lagging behind the others.
Soak (or Rub) It Up
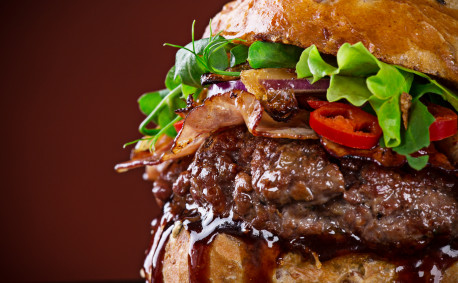
Introduce a new flavor to your dishes with a marinade or a rub. Traditionally, both methods are used for meat, but we promise the Grilling Police won’t come knocking if you add a rub to your veggies, too.
Marinades
A marinade is a liquid mixture to soak food in before cooking. The longer it swims in the marinade, the more flavor it will absorb. However, the max marinade time for most meats is no longer than 24 hours.
To make a marinade, you’ll need fat, acid and flavor. In other words, you’ll need oil, vinegar or citrus, and spices. This is the fun part: There are no rules! You know your family’s taste best, so you can tailor this to their likes. If you’re feeling sweet, try adding a little honey!
When your mixture is ready, put the meat into a plastic, zippered bag, then pour the marinade in and seal it tight. Put the bag in the refrigerator and let everything soak overnight if time allows. The next day, remove the food from the bag and grill when the coals are ready.
Rubs
A rub is a combination of spices which are rubbed — hence the name — on your food before it cooks. Rubs can be created the day of, so there’s less need to plan ahead. Again, this can be created specifically for your audience! If your family likes things sweeter, start with brown sugar, then add other spices from there. If you’re a savory family, start with salt. Common rub ingredients include garlic powder, smoked paprika, chili powder and pepper, but don’t feel constrained!
In a medium-sized bowl, add the desired spices and mix until well combined. If you’re using the rub on meat, pat it dry with a paper towel before getting started. Removing excess liquid helps the meat absorb spices. No matter what you’re using it on, cover it completely! The point is to add flavor, so don’t be shy about coating all sides. Once everything is fully covered, transfer to the grill.
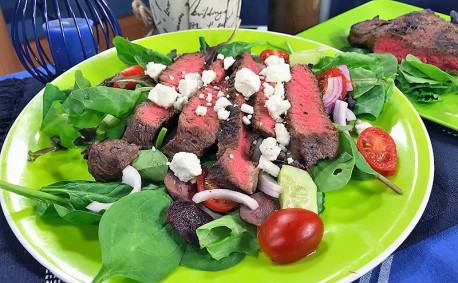
Give It a Rest
Patience is a virtue we all struggle with when it comes to food, but this step is worth it! After removing your meat from the grill, let it sit for about five to ten minutes before digging in.
This time is crucial for flavor. If you rush into cutting and eating your meat, the juices haven’t had time to redistribute throughout the piece, so they’ll flow out as soon as you cut. Nobody wants a dry steak, so wait a few minutes for the juiciest, most flavorful experience possible.
Adding even one of these tips to your routine will make all the difference. Making the leap beyond beginner status can be nerve wracking, but we believe in you! Now get out there and heat up those coals.